Kentico to WordPress: Front & Back-end Migration
Now that your site is fully prepared and your WordPress environment is set up, it’s time to begin the migration process. Follow these steps to transition your front-end and back-end from Kentico to WordPress successfully.
Migrating your Kentico front-end to WordPress
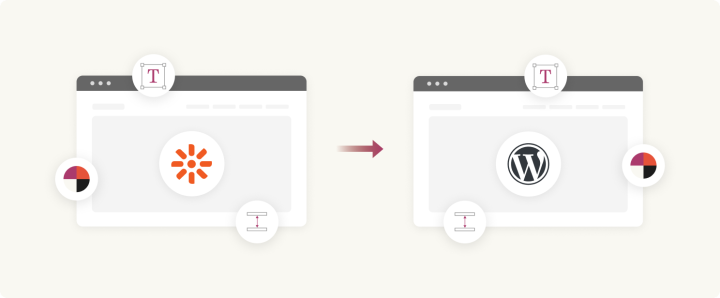
Migrating your Kentico front end to WordPress involves transferring your website’s design to the new platform. The most efficient way to do this is by having your front-end engineers create a custom WordPress theme. If you prefer to keep your existing Kentico design, you can convert it into a WordPress theme, and then redesign it if needed.
To help with this process, let’s explore how WordPress themes, patterns, and editors work, so you can effectively replicate your Kentico front-end on WordPress.
Introduction to WordPress themes, editors, and patterns
WordPress is well known for its extensive themes, but many clients we have worked with prefer custom themes with intuitive page editors like core Gutenberg, Elementor, and others. Here’s how you can use these components to create a visually appealing and functional website.
Create a custom WordPress theme or use an existing one: Designing and creating a layout of your site is significantly easier in WordPress compared to Kentico. You can either build a simple theme from scratch or customize an existing theme that meets your expectations and gets the ball running.
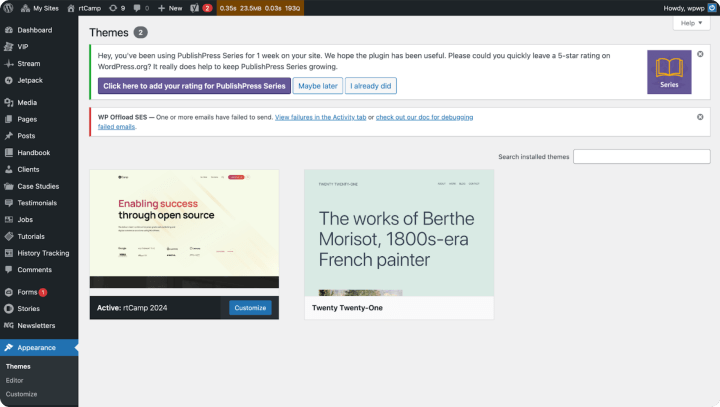
Add the basic files required for a WordPress theme (e.g., style.css, index.php, functions.php). You can find more on steps for theme installation.
Creating the main navigation, header, and footer
When building your custom theme, design the main navigation, header, and footer, as these elements give structure to your theme and speed up your development process. In fact, this is how we start rebuilding the front-end at rtCamp for our CMS migration projects.
Navigation menus: Use WordPress’s built-in menu management system to create intuitive navigation paths.
Dynamic elements: Ensure that the header and footer are intuitive, allowing easy adjustments through the WordPress customizer or with custom blocks.
Using custom blocks and layouts for core design elements
For example, here we are referencing the Gutenberg editor, to create content using reusable blocks for various elements such as text, images, galleries, and more.
Custom blocks: Refer to your initial documentation detailing all the elements you need to recreate from Kentico. Use the Gutenberg editor to design custom blocks for all those components such as headlines, galleries, blogs, testimonials, and service pages.
Assemble layouts: Use custom Gutenberg blocks and assemble sections that are commonly used to build your site pages (for example: multi-column sections, CTAs, or image grids).
Migrating your Kentico backend to WordPress
Here’s how to approach migrating your Kentico backend to WordPress:
- Workflows: Recreate the workflows from your Kentico setup on your new WordPress stack. This might require a good deal of custom coding.
- Integrations: Again, return to your findings from the discovery stage and create the required third-party integrations on your WordPress stack. If your site relies on external APIs (e.g., payment gateways), make sure that these integrations are set up correctly in WordPress.
- Plugins: As planned, add the plugins from the WordPress library or create custom plugins to achieve features/functionality parity between your Kentico and WordPress setups.
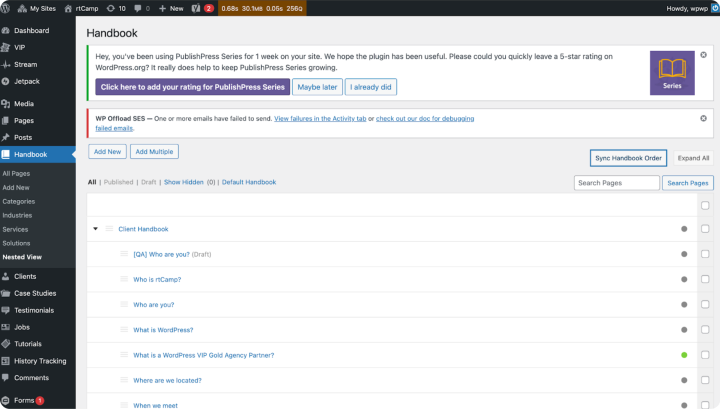
Keep the developers and backend engineers informed and prepared for all the migration requirements, to minimize the waiting period and create an opportunity for parallel migration.
