Setting the stage: Backups and Environment Setup
This section will take you through the essential steps to prepare for a Kentico to WordPress migration, including backing up your data and setting up your hosting environments to ensure a smooth and secure migration.
Backing up your Kentico setup
Kentico runs on an SQL database to store all website-related information, which includes user data, content, and metadata. Proper backup procedures are crucial to ensure data integrity and availability. Here’s how to effectively manage backups in Kentico 13 and above:
Automatic backups
Kentico can automate full backups for production environments. These include daily backups with a retention policy based on your service plan (e.g., Level 1–3 days, Level 2–3 days, Level 3–7 days) and weekly backups retained for up to 30 days.
Follow the steps given in their backup guides to take a backup.
Manual backups
You can also create manual backups for both production and non-production environments using the Backups application in Kentico. During this process, you can choose between a full backup, which includes all components (application, database, and storage files), or a partial backup where you can select specific components.
At this stage, you can choose/filter the data you want to back up.
Content and media backups
Back up all the content pages published on your Kentico website.
Also, Kentico has a built-in tool to access, review, and export all media assets manually. So use that to back up your media files.
It may also be possible to do these manually via FTP or similar file transfer methods to ensure that all files are securely stored.
Verify backup integrity: Go through the various site elements you backed up—such as posts, pages, product listings, media files, and form submissions—to confirm they are complete and accurate.
Note: Store the backup securely on an external hard drive or a cloud storage service.
As a safety measure, once the backup files are uploaded, conduct a thorough test to verify that all critical components have been successfully backed up.
Setting up your environments for migration
You typically need to set up 3 environments to handle your Kentico to WordPress migration project.
Development environment
Your development environment is where your actual migration development happens. From setting up the basic theme to creating a plugin skeleton and coding the backend integrations and customizations, everything happens in your development environment. Many developers use local development environments like Local by Flywheel to manage the WordPress setup.
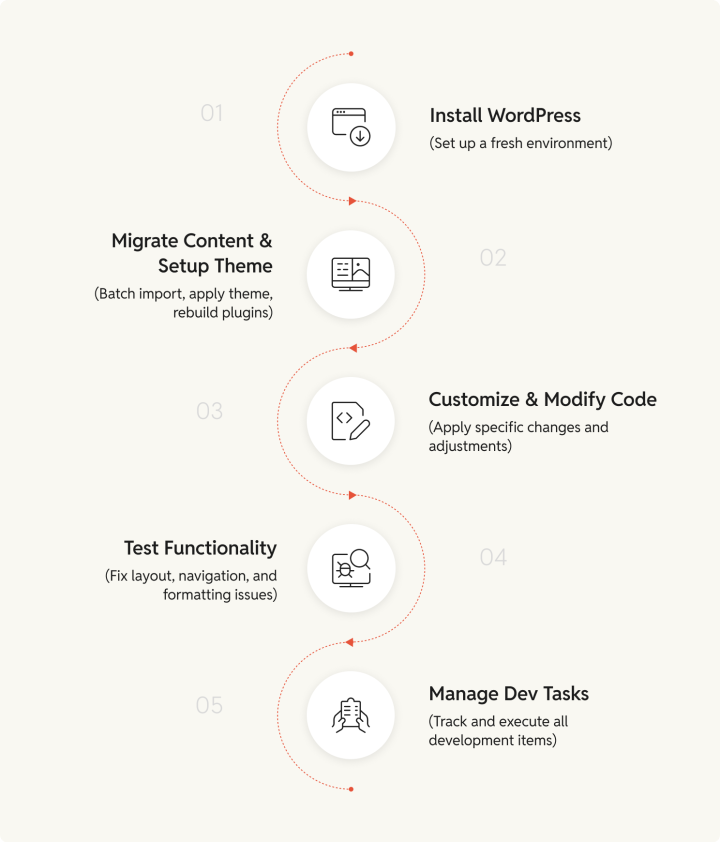
As mentioned above, all your development happens in this development environment. So you’re looking at many things here, like:
- Installing a clean WordPress setup.
- Migrating content in batches, setting up a theme, and rebuilding the plugins from Kentico on WordPress.
- Making custom code changes, theme adjustments, or other modifications as needed.
- Performing functionality tests to identify potential layouts, navigation, or content formatting issues.
- Managing and executing all of your development tasks.
Staging environment
Your staging environment uses the same server settings, database configuration, and hosting setup as the live environment to create the real-world user experience as closely as possible.
Any development that you finalize in your development environment should be deployed on your staging server. That’s because migration can happen in incremental steps, and every time you develop something in your development environment, it can be assimilated to the rest of your staging setup and tested. (This aligns with the goals of the continuous build, deploy, and integrate system that accelerates development.)
Once the initial tests are done, the approved setup can be moved from staging to the live environment.
Live environment
Once all the controls, content, and functionalities in the staging environment are tested and confirmed, the live environment can be used to make the website public.
